Learn Next JS Server Actions with Books!

I'm a freshman at ASU who wants to knowledge of programming through my blog!
Vercel released Next JS 13.4 on 3 days ago (at the time of writing this article), and with that release came two huge announcements: the stability of the app router and a new alpha feature called server actions.
Server actions allow you to write server functions right next to your server components. It's a big deal because, with this, you don't need API routes for mutations when doing any type of data mutation (like submitting a form).
At the time of writing this article, server actions are an alpha feature. Do NOT use server actions in production until the feature become stable.
I'll teach you how to use server actions today by building a mini bookshelf! We will be using the new Vercel PostgreSQL database and Prisma to store and interact with the books, and TailwindCSS for the UI of the app (albeit very minimal).
I won't be going into that much depth regarding the UI of the app (because it kinda sucks) and how to use Prisma. The Useful Links section will have docs links related to that.
Creating the App
Before we create the app, let's install the Vercel CLI as follows:
npm i -g vercel
To create the new Next JS app, use the following command and respond to all of the subsequent prompts.
npx create-next-app@latest
Once the app is created and opened, add the following to the next.config.js file to use server actions, as it is an alpha feature:
/** @type {import('next').NextConfig} */
const nextConfig = {
  experimental: {
    serverActions: true,
  },
};

module.exports = nextConfig;
Because we will be using Prisma later on, let's install it right now:
npm i --save-dev prisma
npm i @prisma/client
Now set up Vercel deployment for the project using the Vercel CLI by just typing in vercel to your terminal.

Setting up the Database
Now let's set up the database. I'll show you how to use the new Vercel PostgreSQL Database, which is a beta feature (so don't use it in production 😄).
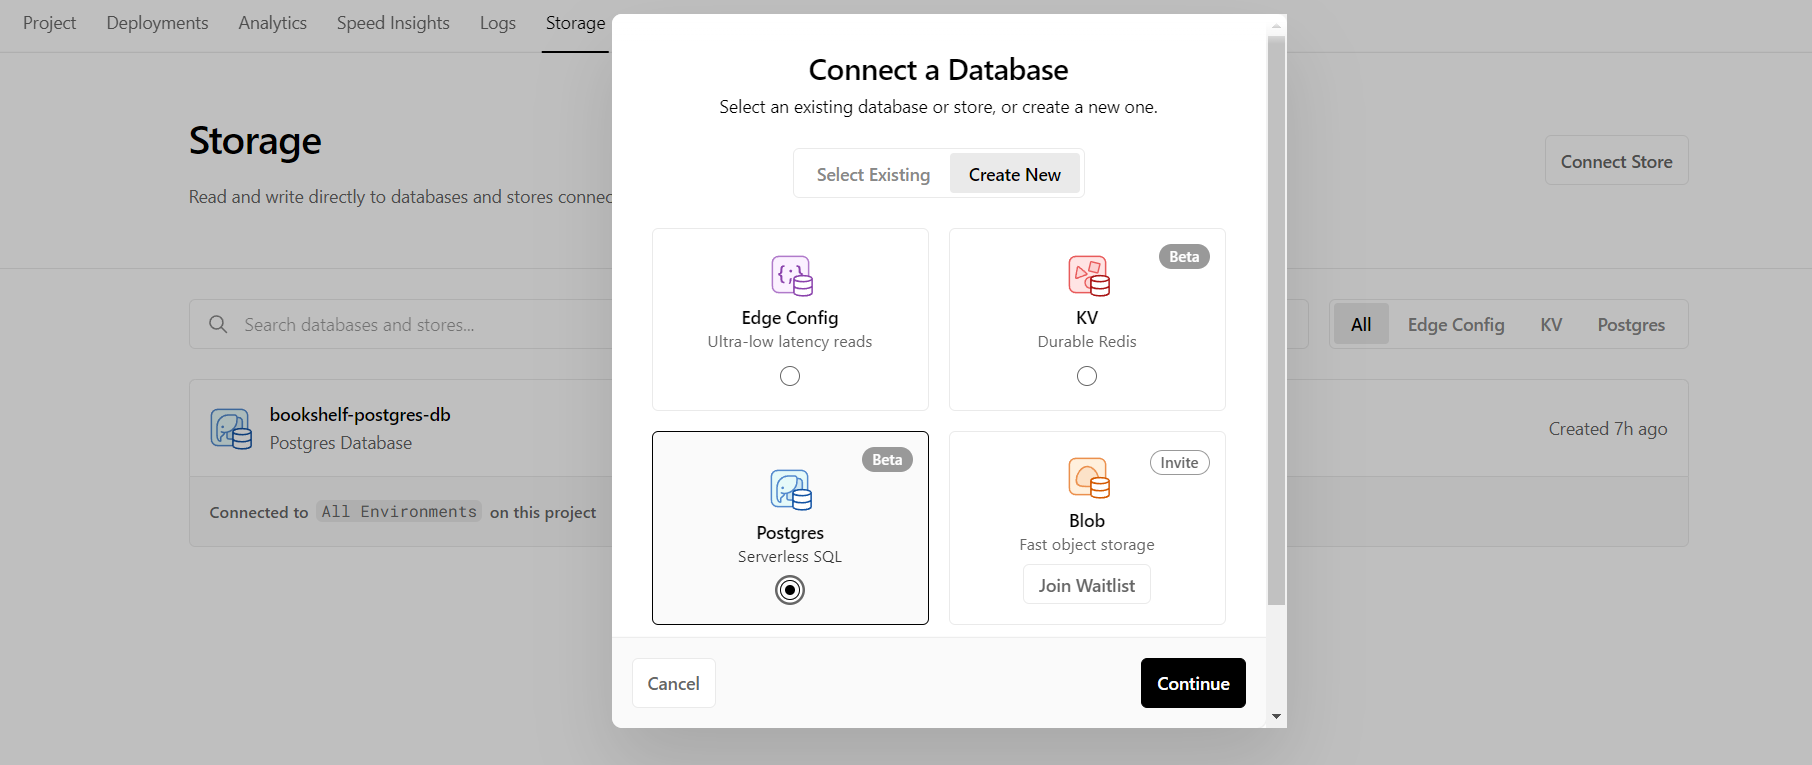
Go to your project dashboard on Vercel and go to the storage tab. Then press the connect store button and create a new serverless PostgreSQL database.
Once the database is created, go to the getting started tab and run the following commands in the terminal:
vercel link
vercel env pull .env.local
These commands will put the necessary environment variables needed to use Prisma. Let's first initialize it using this command:
npx prisma init
Make sure to remove the
.envfile Prisma automatically generates, as we already pulled all of the necessary environment variables in the.env.localfile.
Now that Prisma is working, use the following Prisma schema:
generator client {
  provider = "prisma-client-js"
}

datasource db {
  provider          = "postgresql"
  url               = env("POSTGRES_PRISMA_URL")
  directUrl         = env("POSTGRES_URL_NON_POOLING")
  shadowDatabaseUrl = env("POSTGRES_URL_NON_POOLING")
}

model Book {
  id          Int      @id @default(autoincrement())
  createdAt   DateTime @default(now())
  name        String   @unique
  genre       String
  description String
}
Now let's push this schema to the database and make it ready for the client with:
npx prisma db push
npx prisma generate
The next step for the database is populating it with some data; you can do whatever you want (like making a script or manually doing it in the studio), but make sure the Book table has some values.

The final step for the database is setting up the client. In the src/app/ directory, create a lib folder and a file inside of it called prisma.ts and paste the following code:
import { PrismaClient } from "@prisma/client";

let prisma: PrismaClient;

if (process.env.NODE_ENV === "production") {
  prisma = new PrismaClient();
} else {
  let globalWithPrisma = global as typeof globalThis & {
    prisma: PrismaClient;
  };
  if (!globalWithPrisma.prisma) {
    globalWithPrisma.prisma = new PrismaClient();
  }
  prisma = globalWithPrisma.prisma;
}

export default prisma;
Setting Up Basic UI
Ok, so we can now focus on the front end. For the home page (src/app/page.tsx), we can first fetch all of the books from the database as follows:
import prisma from "@/lib/prisma";

export default async function Home() {
  const books = await prisma.book.findMany();
}
Then we can loop through the books array and display the following UI:
import prisma from "@/lib/prisma";
import Link from "next/link";

export default async function Home() {
  const books = await prisma.book.findMany();

  return (
    <main className="text-gray-600 body-font">
      <div className="container px-5 py-24 mx-auto">
        {books.map((book) => (
          <div
            className="flex items-center lg:w-3/5 mx-auto border-b pb-10 mb-10 border-gray-200 sm:flex-row flex-col"
            key={book.id}
          >
            <div className="flex-grow sm:text-left text-center mt-6 sm:mt-0">
              <h2 className="text-gray-900 text-lg title-font font-medium mb-2">
                {book.name} ·{" "}
                <span className="text-green-600 ">{book.genre}</span>
              </h2>
              <p className="leading-relaxed text-base">{book.description}</p>
            </div>
          </div>
        ))}

        <button className="flex mx-auto mt-20 text-white bg-indigo-500 border-0 py-2 px-8 focus:outline-none hover:bg-indigo-600 rounded text-lg">
          <Link href="/edit">Create new book</Link>
        </button>
      </div>
    </main>
  );
}
You should have the following on your screen (the difference would be what you put in the database):
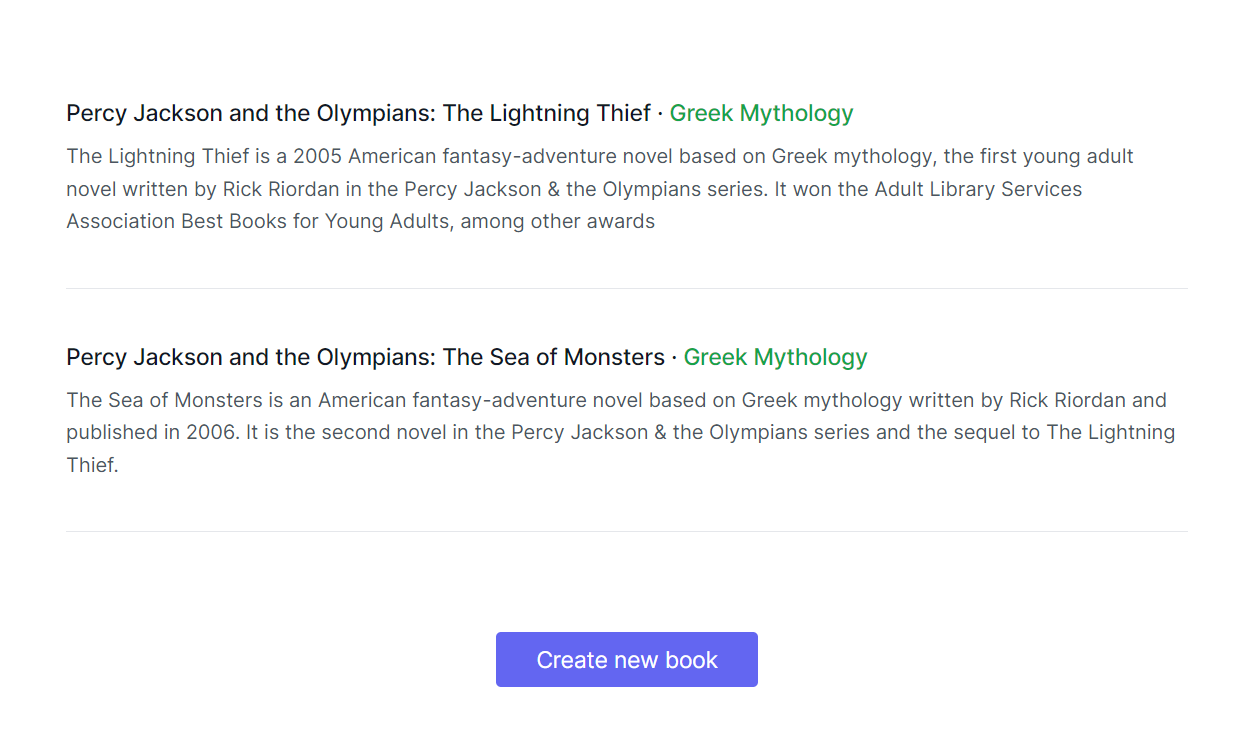
The button with the text "Create a new book" right after the map function will allow the user to go to the edit page, where the magic behind server actions happens.
Using Server Actions on the Edit Page
Now let's create a new folder called edit in the src/app directory and a new page file with the default server component configuration:
export default async function Edit() {
}
Let's add the following form so that we can get user input regarding the creation of the new book (the name, genre, and description fields):
import Link from "next/link";

export default async function Edit() {
  return (
    <main className="text-gray-600 body-font">
      <div className="container px-5 py-24 flex">
        <div className="bg-white rounded-lg p-8 flex flex-col max-w-auto mx-auto mt-10 md:mt-0 shadow-md">
          <h2 className="text-gray-900 text-lg mb-1 font-medium title-font">
            New Book
          </h2>

          <p className="leading-relaxed mb-5 text-gray-600">
            Add some stuff about the book below :)
          </p>

          <form action="">
            <div className="relative mb-4">
              <label htmlFor="name" className="leading-7 text-sm text-gray-600">
                Name
              </label>

              <input
                id="name"
                name="name"
                className="w-full bg-white rounded border border-gray-300 focus:border-indigo-500 focus:ring-2 focus:ring-indigo-200 text-base outline-none text-gray-700 py-1 px-3 leading-8 transition-colors duration-200 ease-in-out"
              />
            </div>

            <div className="relative mb-4">
              <label
                htmlFor="genre"
                className="leading-7 text-sm text-gray-600"
              >
                Genre
              </label>

              <input
                id="genre"
                name="genre"
                className="w-full bg-white rounded border border-gray-300 focus:border-indigo-500 focus:ring-2 focus:ring-indigo-200 text-base outline-none text-gray-700 py-1 px-3 leading-8 transition-colors duration-200 ease-in-out"
              />
            </div>

            <div className="relative mb-4">
              <label
                htmlFor="description"
                className="leading-7 text-sm text-gray-600"
              >
                Description
              </label>

              <textarea
                id="description"
                name="description"
                className="w-full bg-white rounded border border-gray-300 focus:border-indigo-500 focus:ring-2 focus:ring-indigo-200 h-32 text-base outline-none text-gray-700 py-1 px-3 resize-none leading-6 transition-colors duration-200 ease-in-out"
              ></textarea>
            </div>

            <button className="text-white bg-indigo-500 border-0 py-2 px-6 focus:outline-none hover:bg-indigo-600 rounded text-lg">
              Create
            </button>
          </form>

          <button className="text-indigo-500 bg-white border border-indigo-500 py-2 px-6 focus:outline-none hover:bg-gray-100 rounded text-lg mt-4 w-[6.5rem]">
            <Link href="/">Back</Link>
          </button>
        </div>
      </div>
    </main>
  );
}
It should look something like this:
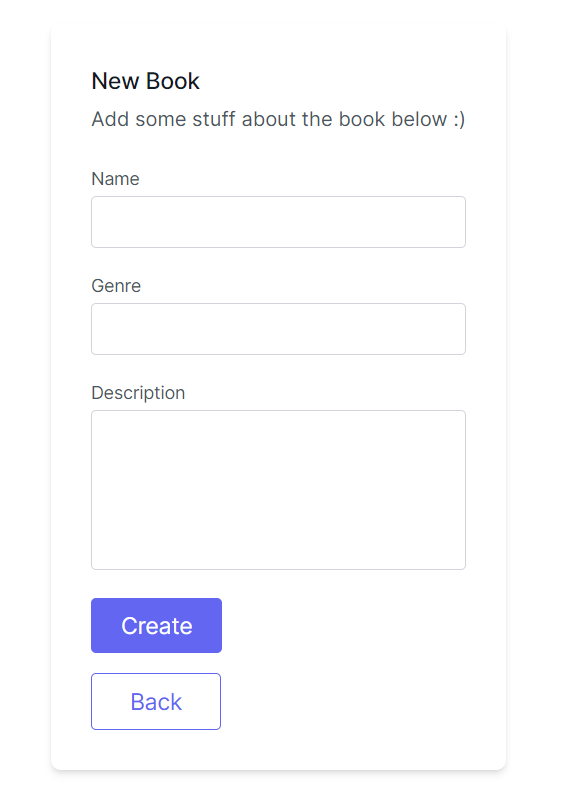
Now here is where the fun begins. To create a server action, create an asynchronous function with the "use server" directive at the top inside of the server component. Since we are using the action in a form, the argument will be of type FormData:
async function createBook(data: FormData) {
  "use server";
  ...
}
We can create a new row for the new book in the database using Prisma as follows:
async function createBook(data: FormData) {
  "use server";

  await prisma.book.create({
    data: {
      name: data.get("name") as string,
      genre: data.get("genre") as string,
      description: data.get("description") as string,
    },
  });
}
To invoke this server action, pass this function into the action prop of the form tag:
<form action={createBook}>
  ...
</form>
And just like that, we can now submit the form to add new books to our database!

The Potential for Server Actions
This post only covered the tip of the iceberg when it comes to server actions and their potential, so feel free to check out the Next JS docs on server actions here to learn more about it.
As the feature evolves and eventually becomes stable, there will probably be a lot more use cases (and be way more secure) for server actions, making this article outdated ☹️.
Well in the meantime, I hope this article helped with learning server actions for the first time. Share it with any dev that wants to learn it, and thanks for reading!
Signing off 👋
Useful Links
Cool video about server actions from Fireship


