


Fetching an API is a must-know for web developers in 2022 and beyond. In this article, we will learn how to fetch an API and get its data using Axios, a popular library for fetching APIs. We will also use React for our demo app.
Setup
Create a new React app using Vite (pronounced like "veet"):
npm create vite@latest axios-demo -- --template react # npm
yarn create vite axios-demo --template react # yarn
If you want to use TypeScript (we'll talk about TypeScript specific things later), use the template react-ts instead of react.
Now install axios:
npm i axios # npm
yarn add axios # yarn
Using Axios
Axios is a promised based library, so you should know how to use promises and async/await. We will also be using the JSON placeholder API for this tutorial.
Getting Data
The easiest way of fetching data from an API is just using the get method (for a GET request).
import axios from "axios";
axios.get("https://jsonplaceholder.typicode.com/todos");
This method returns a promise that contains the response data. The response contains properties like the status and headers. To get the JSON data, you need the data property.
axios.get("https://jsonplaceholder.typicode.com/todos").then((res) => {
  console.log(res.status);
  console.log(res.headers);
  return res.data;
});
The return statement returns the data property from our response that contains all the data. We can then chain another .then to log the data to the console.
axios
  .get("https://jsonplaceholder.typicode.com/todos")
  .then((res) => res.data)
  .then((data) => console.log(data));
Posting Data
To send a POST request to an API, you can use the post method on the axios object. It takes the URL, the data you are posting, and a configuration object.
axios.post("<url>", data, {
  // config ...
})
The most common type of configuration you may need to send with your POST request is the request headers. This is usually needed for authentication.
axios.post("<url>", data, {
  headers: {
    api_key: "YOUR_API_KEY_HERE",
    // other headers ...
  }
})
Now that you have a general idea on how to use Axios for some basic API requests, let's actually use the JSON placeholder API and display some data on the screen. If you want to learn more about Axios, head over to their documentation here.
Fetching the Data
First, we need some state to track all of the todos we have (the API response).
const [todos, setTodos] = useState([]);
Now we would create an asynchronous function that would fetch the data and then set the todos to the data.
const fetchData = async () => {
  await axios
    .get("https://jsonplaceholder.typicode.com/todos")
    .then((res) => setTodos(res.data));
};
Finally, we would use a useEffect to call the function every time the page reloads.
useEffect(() => {
  fetchData();
}, []);
Typing the Data
You can skip this part if you aren't using TypeScript, but the article will sometimes use TypeScript specific syntax; you can remove it, and it will be valid JavaScript.
If you are using a TypeScript workflow, it would be a great idea to create types for the specific API response you are getting. Manually typing an API response can be a hassle, so I recommend using Quicktype, a service that will automatically create types from JSON. They aren't always perfect though, so I advise that you look over and edit their types before using them.
Here are the types for the todos (I got them using QuickType with a couple edits)
export interface Todo {
    userId: number;
    id: number;
    title: string;
    completed: boolean;
}
Now we can add types to our state:
const [todos, setTodos] = useState<Todo[]>([]);
And we can also convert our response data to the type Todo[] when we set the todos:
await axios
    .get("https://jsonplaceholder.typicode.com/todos")
    .then((res) => setTodos(res.data as Todo[]));
Now we our data is strictly typed. Let's display some of the it on the browser now!
Displaying the Data
Displaying the data is actually quite simple. All we need to do is map through the array and display the elements in the fashion we want. I will just simply display all of them using an unordered list:
{todos.map((todo) => (
  <li>{todo.title}</li>
))}
Go to this Github gist to get the CSS I am using to style the list (it isn't great, but it'll do for now).
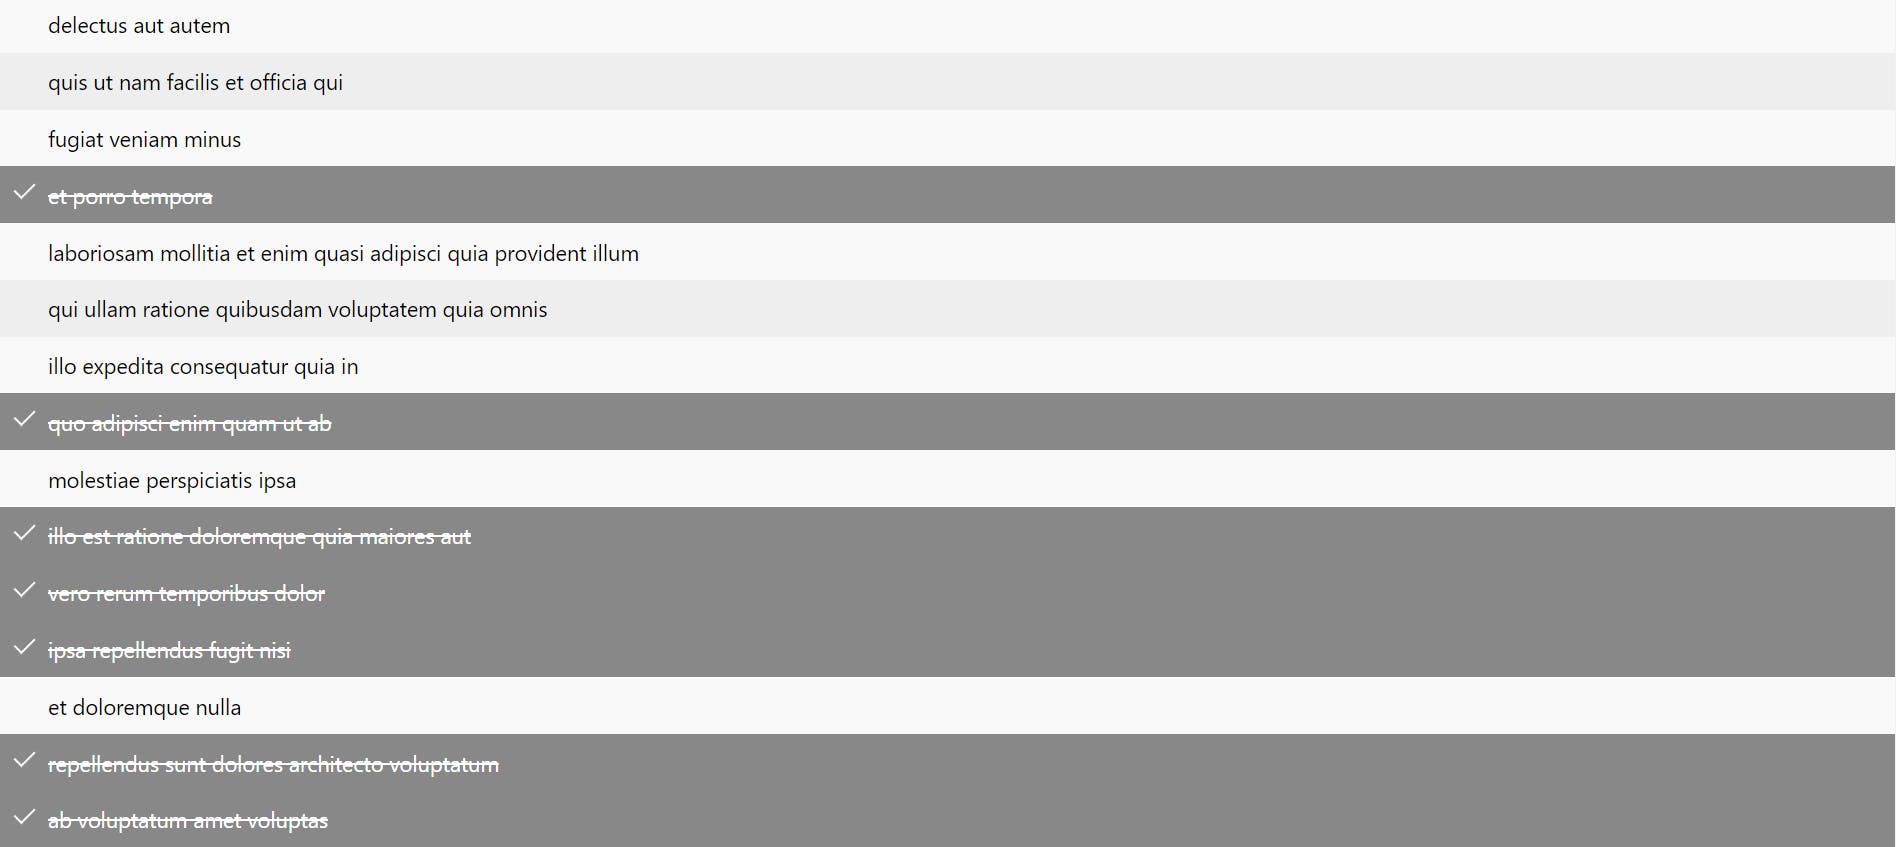
Because the todos automatically come with a completed field, we can added a "checked" class to the todos that are completed:
<li className={todo.completed ? "checked" : ""}>
  {todo.title}
</li>
You should get this now:
Conclusion
Axios is a great library you can use to fetch data. I highly recommend that you use it for complex apps and projects. Here is the GitHub repo for the code I wrote in the article. If you want to learn more about Axios and how to use it, check out their website. Thanks for reading!
Signing off 👋